Transparency:
In order to make the background of a pose transparent there are a few things that need to be done.
This tutorial is for gimp.
1. Using the magic wand tool, (

) Select the white [or otherwise colored] background.
It should look something like this:

After selecting the background areas of the pose, Click the "
Select" Dropdown menu. From there, you should select the Invert option.
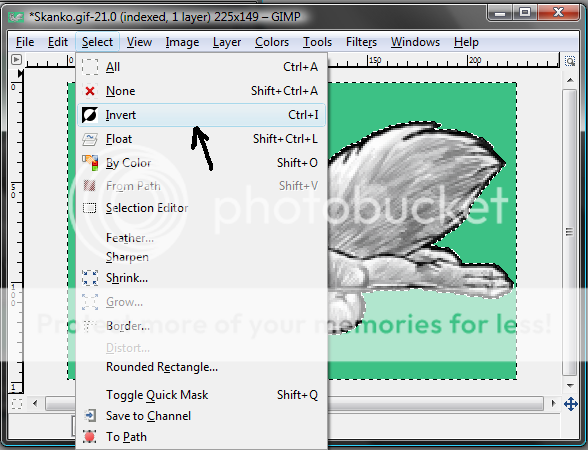
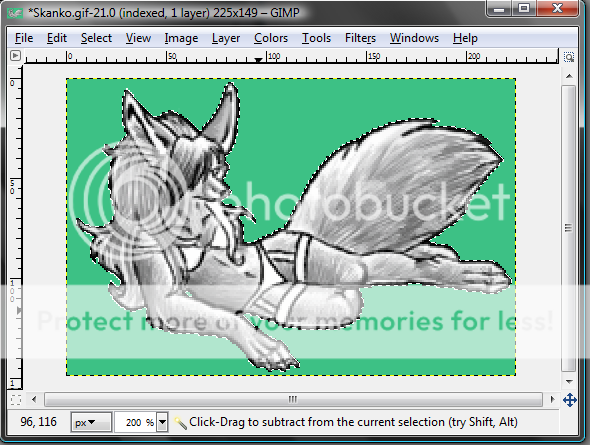
Once You've clicked Invert, it should look like this: [In the screenshots, it's not much different, but you'll notice that the dotted lines are not moving around the outside of the entire image, just around the pose when you're actually doing it yourself.]
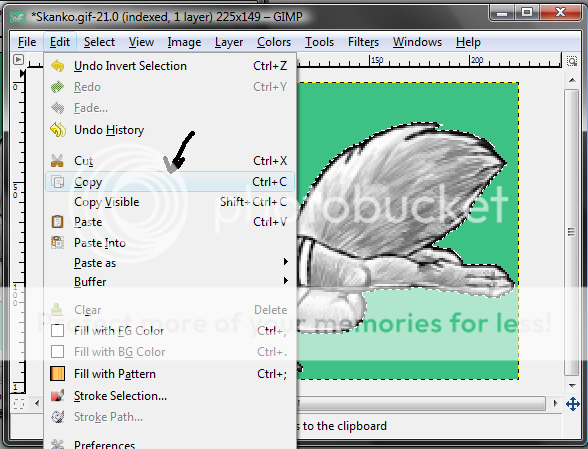
After Doing this, You should Copy the selected part of the pose. Now that you've clicked invert, ONLY the pose is selected. You can copy it by Clicking Copy under the "
Edit" Menu.
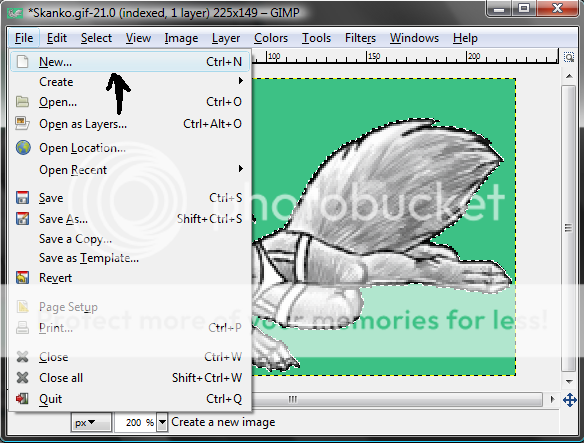
After Copying the image, you should create a new image. To do this, click the "
File" Dropdown menu.
After clicking new, a popup window should appear. Click "+ Advanced Options". Under the "Fill With" dropdown menu, change it to TRANSPARENCY. It is important to make sure you do this, otherwise you will get another white background which totally kills the purpose of the previous steps.
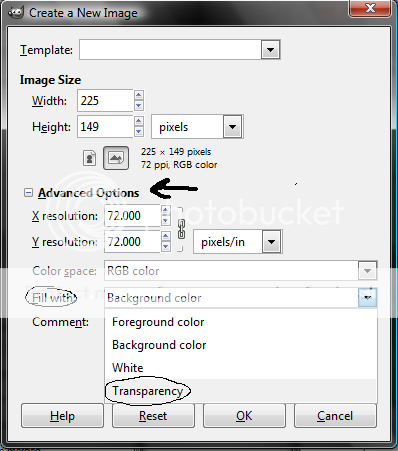
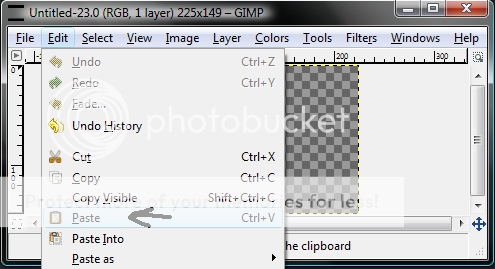
After selecting Transparency in the "Fill With" menu, click okay. From here, You will need to paste the image into the transparent background. [The background is transparent if it is a gray checkered background.] To do this, Click the "
Edit" Dropdown menu again, and select Paste.
After pasting the pose into the transparent background, you will need to anchor the layer onto the image so it is one layer, instead of a floating selection. In order to do this, you will need to click the "
Layer" Dropdown menu, and select "Anchor Layer".
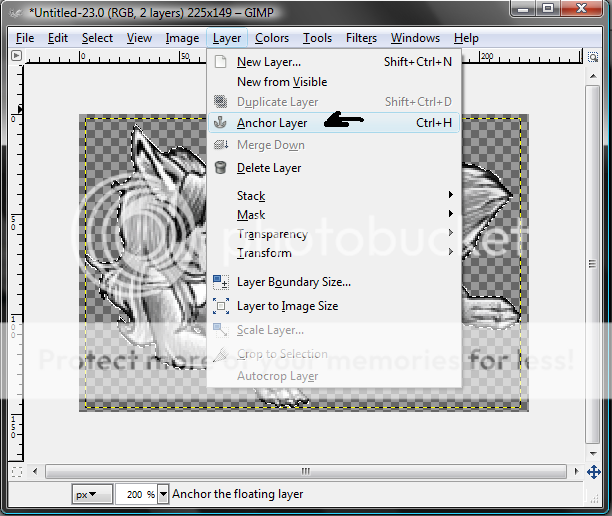
After Anchoring the layer, you are finished making the poses background transparent. However, in order to be able to color it from here, you need to make a new layer with the mode set as "Multiply".
To do this, click the "
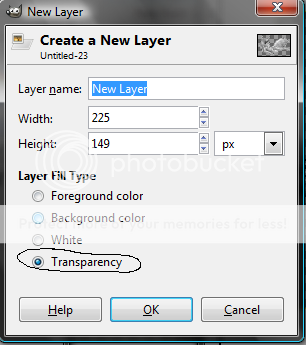
Layer" Drop down menu again, and select New layer.
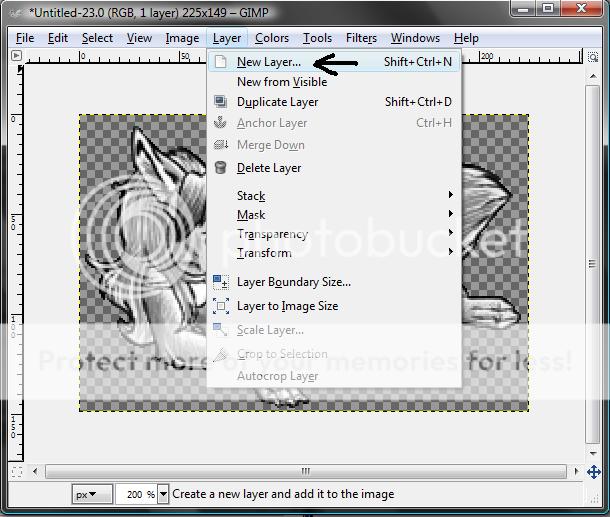
A popup window should appear, make sure that "Transparency" Is selected for the layers fill type.
In order to make the new layer multiply, you will need to go to the layers list and click "Mode" From there, select Multiply.

And Ta-Dah! You're all ready to color the pose to your liking. (By the way, when you're ready to color your pose, make sure you color on the new layer!)
When you are finished coloring your pose, I suggest saving it as a .PNG file. The picture quality for .PNG files is substantially higher than other file types.
The pose used in this tutorial is (c) Kitara


